Introducing the PADI ‘How To’ series featuring helpful tips as you discover the underwater world. If you’ve just started the PADI Open Water Diver course, or simply haven’t been in the water for some time, we’ve got you covered with a full visual breakdown on how to perfect these skills so you feel the most comfortable in the water.
During the PADI Open Water Diver course, you will learn how to assemble your dive gear properly. Watch the below video to see how it’s done:
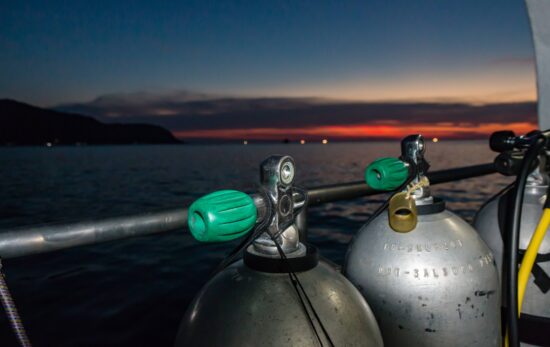
Step by Step | How to Gear Assembly:
Step 1: Inspect dates (visual and hydrostatic tests)
Step 2: Inspect o-ring (for damage)
Step 3: Place BCD on cylinder
Step 4: Tighten BCD strap (and clamp on cylinder)
Step 5: Hold regulator setup (regulator hoses in right hand)
Step 6: Remove dust cap
Step 7: Attach 1st stage onto cylinder (seat on o-ring)
Step 8: Use three fingers (do not over tighten)
Step 9: Attach low-pressure inflator hose (to BCD)
Step 10: Streamline hoses (inflator, octo, gauge console)
Step 11: Place gauge console facing BCD (away from eyes)
Step 12: Fully open cylinder valve
Step 13: Check pressure for a full cylinder
Step 14: Lay gear down on cylinder (or strap down on boat)
Further Reading:
PADI How To Video Series
How to Know When to Replace Your Dive Gear
The Proper Dive Buddy Gear Check