If you can’t dive on lockdown, you can put the time to good use and relive your last dive trip by finally sorting through your images and doing some editing!
Although you might love that image of a blurry blob of a frogfish, it might not generate the same level of excitement with your family and friends. If you want to dazzle the land-lovers in your life and make sure that your images reflect the real deal, here’s how to do it…
Delete, Delete, Delete
Okay, this might sound harsh but blurry sand, fish butts and shots that require squinting and imagination are not going to work. You’re not likely to look at these shots again and they won’t excite anyone. Delete them now and you’ll save storage space and have less to edit later.
Do this in stages. Your first round will be easy, then go through what you’ve kept and be more judgmental. Think about focus and exposure, you can’t fix an out of focus image, and although you can work with an underexposed image, anything that is over exposed is hard to tone down. Once you’ve done that, look at where you have multiple images of the same thing. Scrutinize them and keep the best one (maximum two), you don’t need more than that.
Okay, now you’ve narrowed down what you have to work with, we can look at the editing options available and apply them to each of your images. Remember that the idea of editing is not to change the image but to enhance what you have.
Remove Backscatter
Backscatter is small particles in the water, in between your camera lens and the subject you are photographing. In your images, backscatter appears as white speckles and dots. Backscatter is almost impossible to avoid but it can be removed with the help of a spot correction tool.
Aim to remove the most obvious speckles but be careful when trying to remove any backscatter which is on top of your subject. Spot correction tools will replace the blemished area with a duplicate of another area in the photo of the same colour. This can work well on blue areas but not so well on parts of a critter.
When dealing with a lot of backscatter, ask yourself if it is worth while trying to remove it all, or just a little, or if it’s better to move onto another image. Removing backscatter can be extremely time consuming!
Colour
Adding Colour to a Blue Image
This is one of the easiest things to change and it is often what makes the biggest difference. Images that appear “blued out” can often be saved assuming there is some element of red still in the image. Images appear blue because there was not enough light and the first colour that is lost with light loss is red. Find the temperature control and try increasing the temperature – this brings up the level of red already captured in the image. If the image is totally blue with no red tones, this will not work, and the image is going to be hard to save.
If, however, turning up the temperature makes the corals return to their normal colour – or close to it, you’ll see a huge improvement immediately.
You can also try adjusting the ‘tint’. Tint runs from green to red and needs to be adjusted very carefully. Unlike temperature which enhances existing red, tint adds in extra red which can quickly turn your blue background purple.
Saturation
Once you have corrected the colours in your image you may want to tone them up or down (make them stronger or dull them down). Saturation controls colour strength but make minor adjustments only to prevent the image from becoming so saturated it appears ‘fake’.
If all else fails, there’s black and white
If you can’t save the colours in an image, turn the saturation down to zero and remove all colour. This will result in a black and white image which can be equally attractive. Black and white images often benefit from some added ‘contrast too’. See below.
Exposure, Shadows and Contrast
Contrast
If your image is lacking definition, try increasing the contrast – this makes the difference between light and dark areas in the image more profound.
Shadows & Exposure
For images that appear dark, use the shadow tool to lighten the shadows. This will lift the image without white-washing the entire image in the way that exposure does. The shadow setting lightens the dark patches, whereas the exposure setting will lighten the entire image universally. Try both until you achieve the desired effect.
Highlights
The highlight setting is the reverse of the shadow setting and will only affect the lightest and brightest patches in the image.
Clarity and Sharpness
It’s not possible to make an out-of-focus image suddenly become in-focus but by using a combination of the clarity and sharpness tools you can improve the appearance a little. For in-focus images you can also enhance the ‘crispness’. Adjustments need to be extremely minor as you will also increase the clarity and sharpness of any imperfections, most notably, backscatter. If your image begins to take on a grainy appearance you have gone too far.
Blurry Backgrounds
Blurry backgrounds can disguise a multitude of sins, make the subject matter ‘pop’, and add a more professional feel to your images. Most editing software will have a blurring tool but they can take a little practice to get used to. Start gradually, go slowly and take your time!
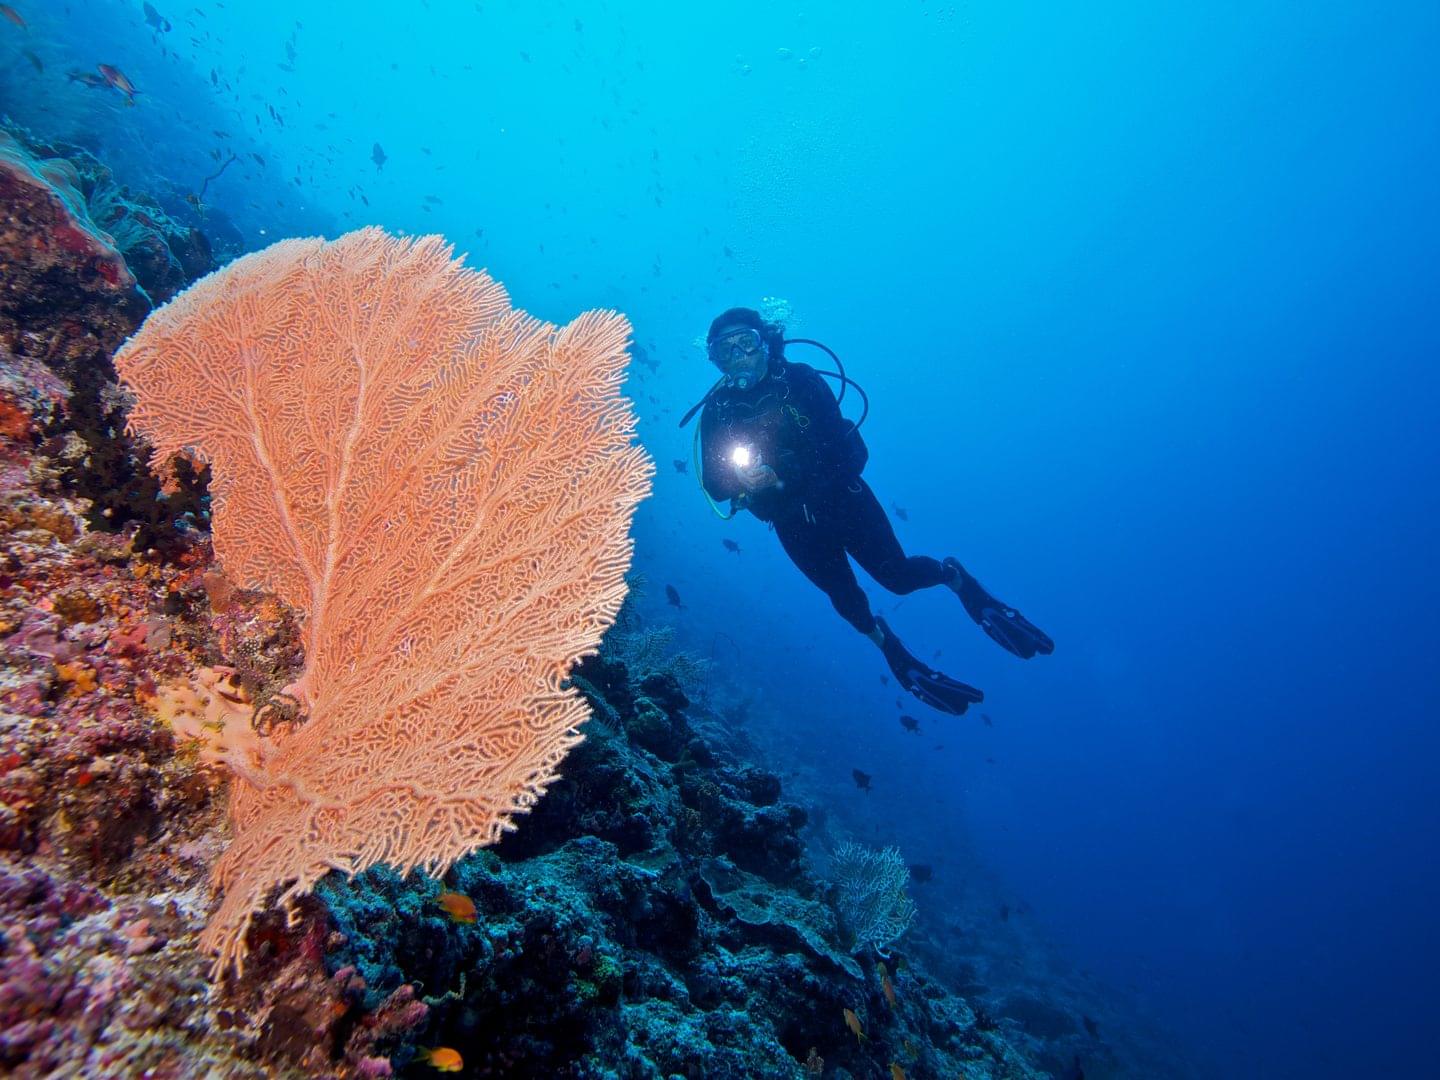
Once you’ve finalized your favorite images save them and back them up on a hard drive and or to cloud storage – after all of your hard work you don’t want to lose them!
Are you feeling inspired to get underwater again and take more photos? Prepare for your next dive by taking the PADI Digital Underwater Photography Speciality course online, right from the comfort of your own home!


