In the summer of 1893, Frenchman Louis Boutan was the first person to take a camera underwater. His subject was a diver. Throughout diving’s pioneering years, the most exciting story from this alien world was a person exploring it, and divers were the most popular subject. Today’s scuba photographers have taken to the water in an era when everyone and their grandmother can dive, and inevitably the excitement of showing people underwater has waned; we prefer to make life, scenery and wrecks our subjects of choice. This, I think, is a pity.
Including people in our pictures is invaluable in helping non-divers relate to our world. People show the scale of a subject and perhaps allow our audience to see themselves experiencing it too.
TIP 1: IT TAKES TWO
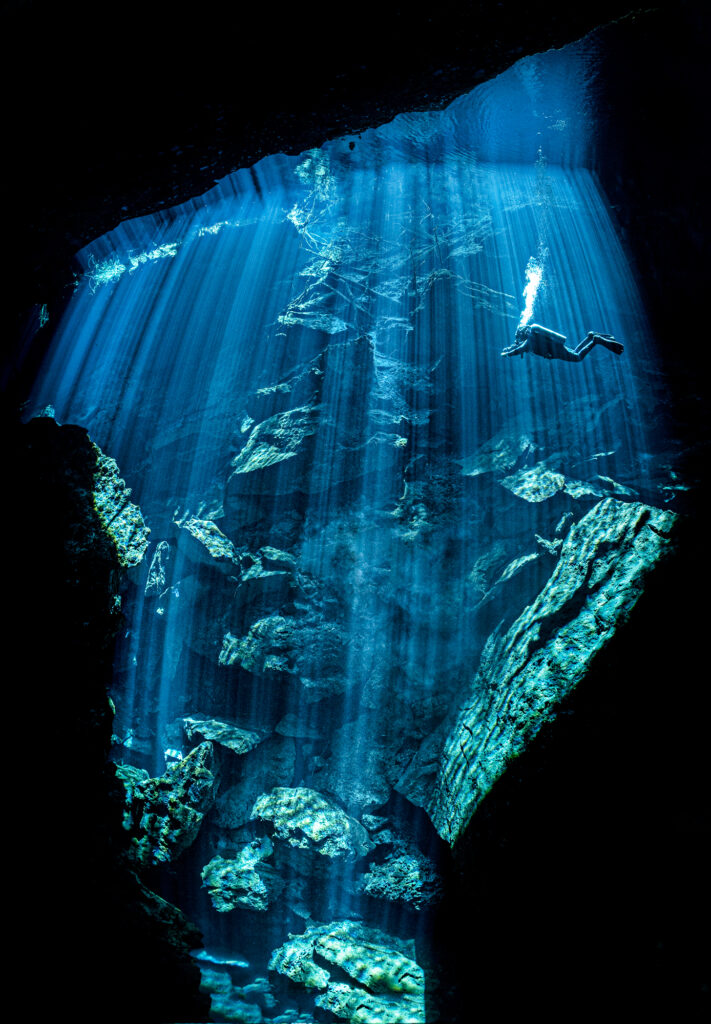
Underwater photography is usually a solo activity. Diver photography changes that because these shots require true teamwork. Indeed, the model’s job is often the tougher one.
Far more critical than any photographic technique is making this relationship work. Always be grateful to—and patient with—any diver who is willing to give up precious underwater time for your shots. This means working efficiently by getting your composition, lighting and exposure spot-on before demanding their time.
In theory, people should be one of the easiest underwater subjects. They are big, won’t run away, and will pose on demand. However, once underwater we cannot speak, and even simple advice and suggestions can be frustratingly difficult to share. Agree on simple signals for moving, alignment and eye lines predive, and communicate clearly and slowly. The success of people shots requires that we nail both the big photographic stuff and a host of small details relating to the model.
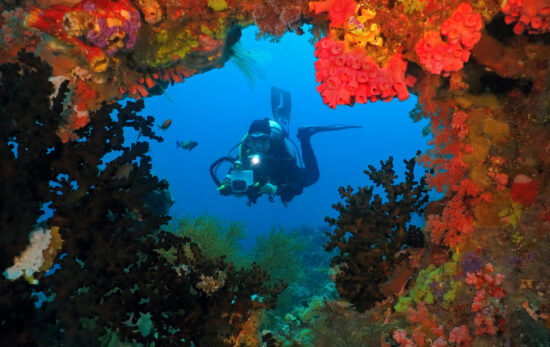
Photography of divers underwater is invariably wide-angle, but lens choice can be tricky. All wide-angle lenses distort, but fisheye lenses distort more. Ultimately both lens types can be useful (both images here were shot with fisheye and uncorrected), especially if you use the lens distortion to flatter. The detail work starts predive by the diver dressing for the part, with correct equipment for the conditions and gear configured securely.
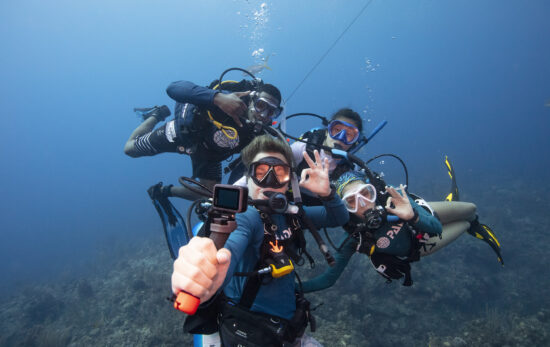
Totally black dive gear is fashionable, but a little color will lift your shots—a rash vest is the easiest way to do it. Fins are another. Long fins elongate the diver, making them appear more elegant than short, rigid fins. Hands and arms can easily look awkward—a good solution is to give the diver something to hold, such as a small camera or a torch, which also helps the picture tell a story.
TIP 2: THE EYES HAVE IT
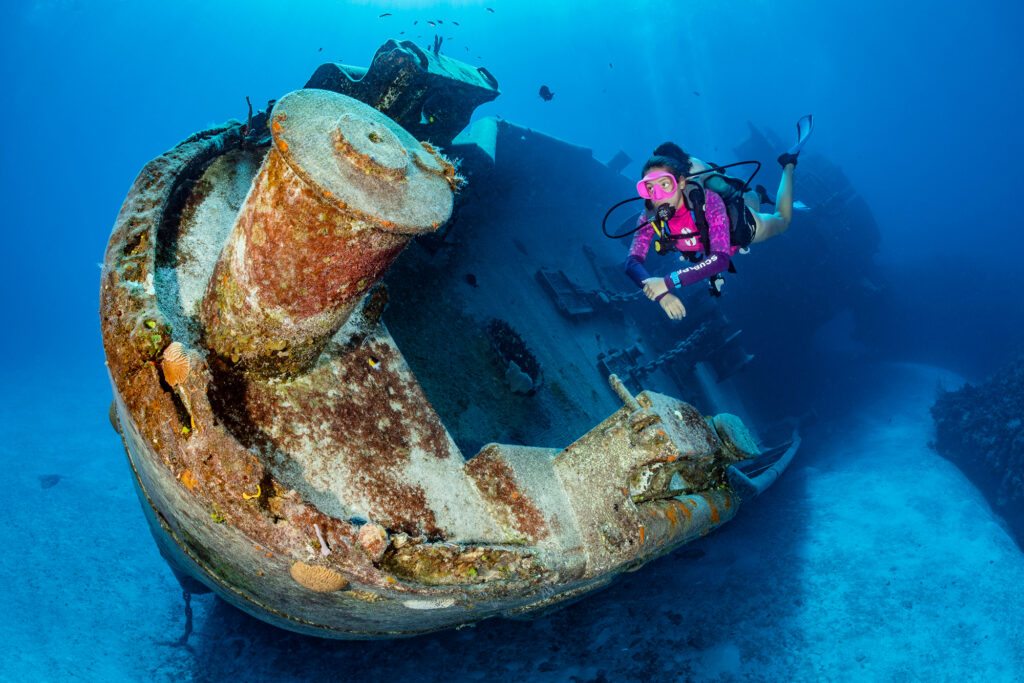
Divers work best in underwater photos when they are either close to the camera and fully illuminated, or more distant and totally silhouetted. A half-lit diver frustrates the viewer as they strain to make out the details. If you are lighting the diver, then the eyes are the most important feature.
The most revealing mask for showing and lighting eyes is a 1960s-style oval; modern masks with a single window, rather than two separate ones, are most flattering. Choose one with a clear silicone skirt—this helps get light in.
Setting up these shots is challenging, particularly for the model. The simplest setup is to direct the diver to swim up slowly behind an interesting foreground subject. Advise them to face the camera but look at the main subject of the image. This allows their eyes to be clearly photographed while their gaze reinforces the interest in the main subject. If they are the subject, avoid having them looking straight down the lens; direct them to look a little above it. Swimming slowly is better than hovering, and gives a more pleasing posture. If there’s current, try to set up a shot so the model is swimming into it. Hair floats underwater — not that I’d know—so swimming helps keep it neat.
Silhouetted diver shots are easier for both model and photographer. They are the best place to start this type of photography, not least because divers will be less self-conscious knowing they won’t be recognizable. The best directions are to ask your model to pose about 8 feet above and away from the reef, so that you can easily frame their silhouette against bright open water. At this distance, they will be small enough to fit neatly in the frame and far enough away not to be illuminated by your strobes. Divers should swim parallel to the camera and not toward it, and try to align themselves with the dominant feature of the frame.
Predive, I always let models see how wide my lens sees and remind them they can judge their position from the reflection in the dome. During the shoot, take time to share the images on the screen so that they understand how the shots look, which encourages them and allows them to correct things that might make the shots stronger.
Text and Photos by Alex Mustard
ALEX MUSTARD, an award-winning shooter who dives all over the world, has a Ph.D. in marine ecology.
This article originally appeared in the April 2021 issue of Scuba Diving magazine. Visit scubadiving.com for more.
