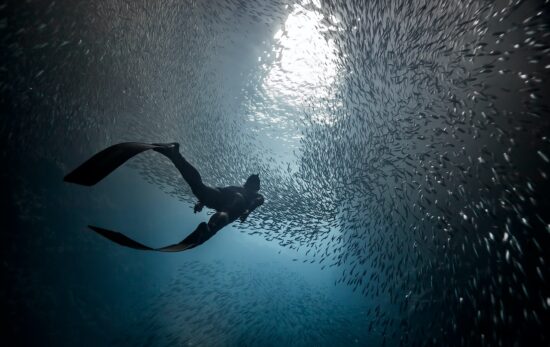
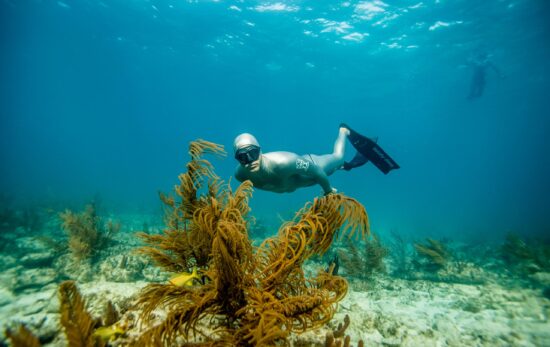
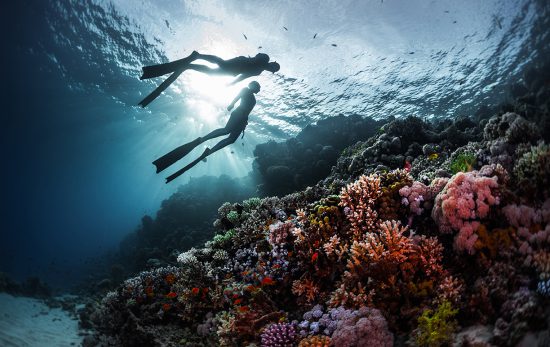
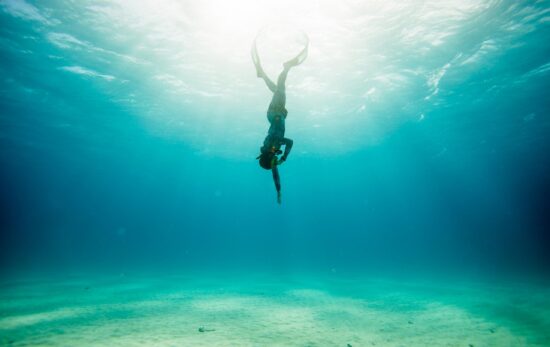
Ever looked at an underwater image and wished that you were the person behind the camera? As a freediver, you have the power to dive beneath the surface, and with proper training and an underwater camera, you, too, can learn to produce amazing photographs and videos of marine life, shipwrecks and other divers. Freediving photography is certainly challenging, but the trick is to just dive in and start practicing.
Here are some tips to help you along the way.
1. Be Safe
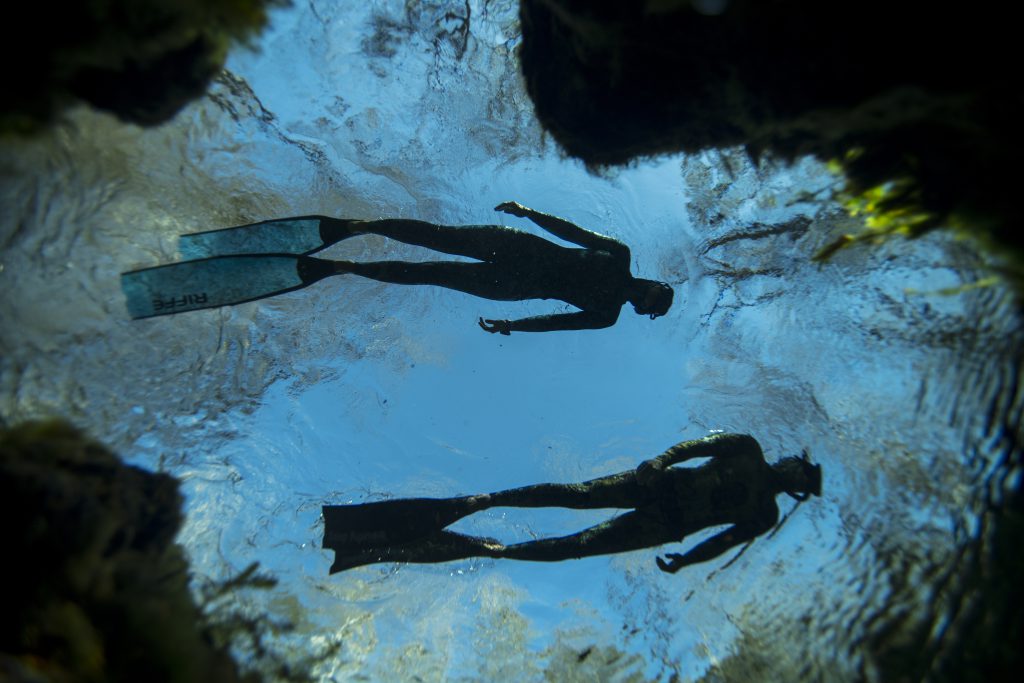
As a certified freediver, you should already know the basic safety protocols for freediving. Never dive alone, always have a dive plan, assess water conditions before every dive, don’t forget to equalize, etc.
However, adding photography to your freediving experience makes the situation more complex. Using a camera is an added distraction. This can often lead to dives during which basic safety protocols are forgotten or missed. So, whenever you’re freediving and taking photos at the same time, take an extra second or two to think about your training in order to ensure safe dives.
If you’re not a certified freediver, you’ll need to take a course before you can freedive to photograph at depth. And, if you’re already a certified diver, consider taking the next step and getting your Advanced or Master Freediver certification in order to increase the depth to which you can dive and the time you have to get the perfect shot.
2. Consider the Environment
As we mentioned above, diving with a camera is a distraction. That’s why it’s extra important to consider the environment before and during your dives while doing freediving photography. Remember to avoid kneeling on the seafloor or brushing up against any corals in the area. Don’t let your fins accidentally harm the sensitive marine ecosystem around you. And, never touch any marine life. As an underwater photographer, your mission should be to leave the environment as beautiful as you found it.
3. Understand Your Subjects
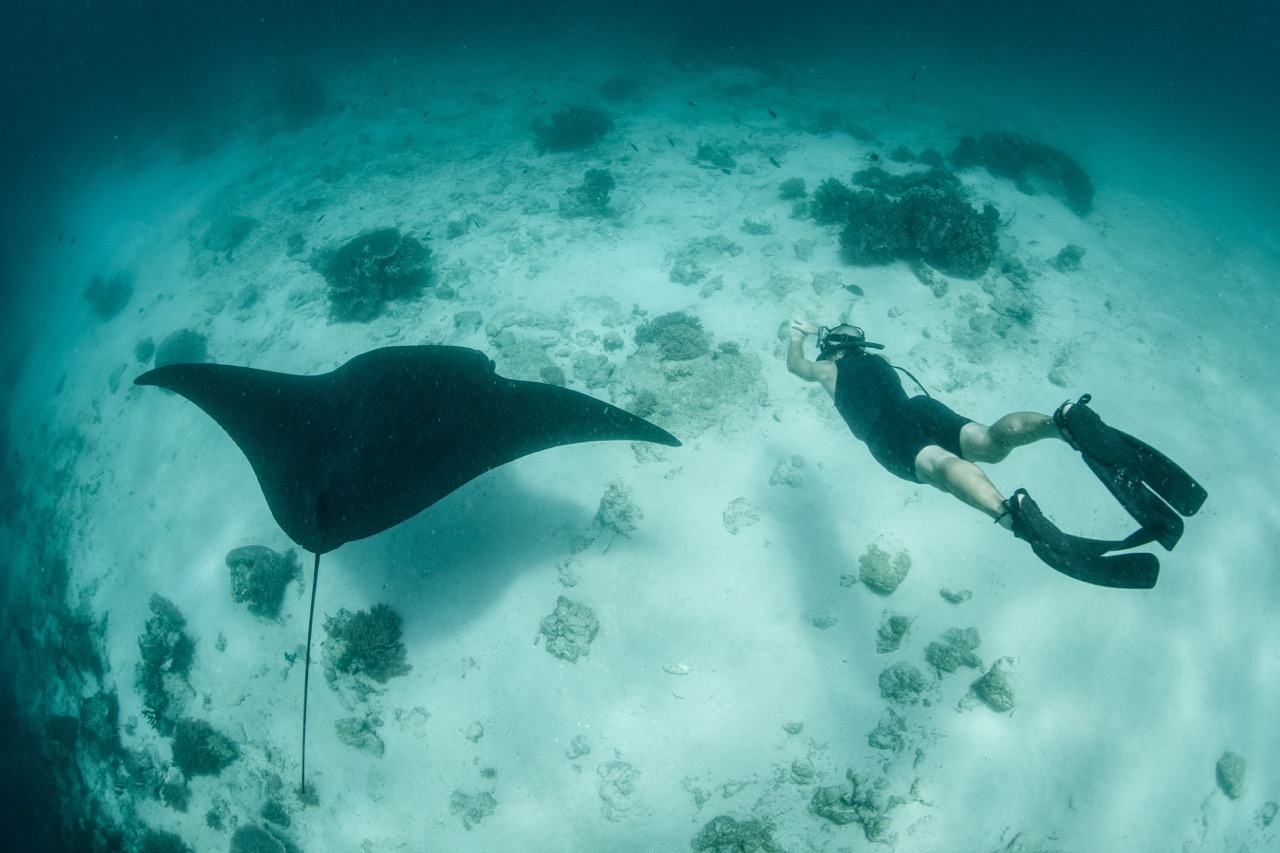
While this tip is technically independent of the camera in your hands or the computer in your home, it may be one of the most important. Understanding how people and, more importantly, how marine life move and behave in the water is paramount to successful underwater photography. Often, subjects may only give you a handful (or even just one) opportunity to get the shot you’re after, so positioning yourself in the water based on your understanding of where your subject is going can be just as important as the settings on the camera. Asking freedivers with experience shooting your chosen subjects or researching movements through existing media can provide you with plenty of clues for the best way to approach any given situation.
4. Master Composition
One of the most effective ways to produce stand out underwater images is with eye-catching compositions. Whether you’re shooting a model, fellow divers or marine life, it’s always a smart idea to enter the water with a catalog of inspirational freediving photography ideas in mind, so you’re ready to react and create your own pictures quickly in the moment. Social media, including PADI’s Instagram page, can provide plenty of examples to help get those creative juices flowing.
5. Learn About Shutter Speeds
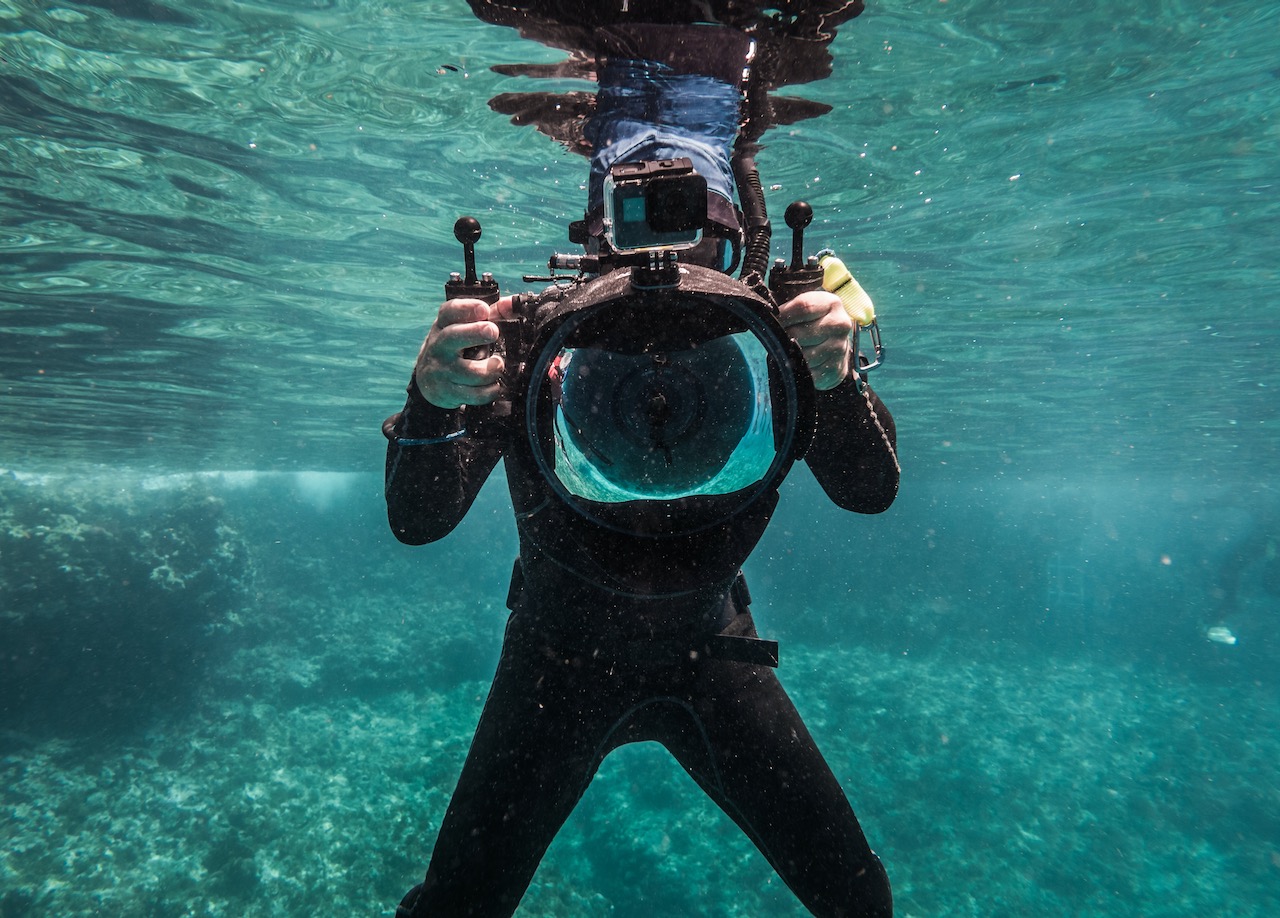
The shutter speed you choose can be the difference between a crisp and a blurry image – both of which have their uses. If you’re trying to capture a crisp image, aim to use a shutter speed around the 1/250 to 1/320 mark or above. This will freeze the action in front of you and help prevent unwanted blurring. Alternatively, by dropping the shutter speed to around the 1/10 mark, you’ll be able to introduce blurring into your images. While a slightly more advanced skill, the photographer can follow the subject as the trigger is depressed, so that he or she will achieve an eye-catching outcome of a clean subject surrounded by motion blur. When this is done incorrectly, the photographer will produce a blurry, unusable mess.
6. Think About Smart Positioning
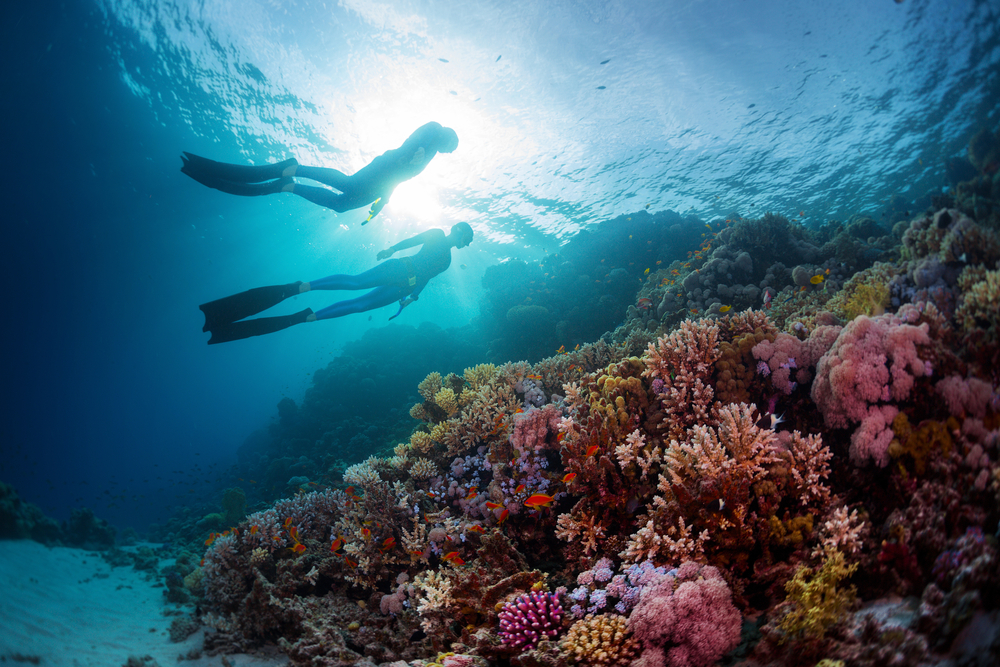
As a general rule, always aim to maximize the amount of light falling on the subject by putting the sun behind you and keeping your subject in front of you. Even if you’re looking to produce some kind of blur in your image, an adequate amount of natural light will still allow you to shoot at the lowest (usually 100) ISO possible, delivering cleaner images irrespective of your chosen shutter speed. Obviously, certain compositional choices, such as when you want your subject to backlit subject, will ignore this advice.
7. Get Good at Post-Processing
Whether you like it or not, editing underwater images in post processing is a key part of the production process. With this in mind, always shoot in RAW, so that the camera stores as much color and light information as possible. This will allow you to restore lost colors, usually red most noticeably, and comprehensively adjust the lighting levels in your images. Becoming familiar with advanced image manipulation software, like Lightroom and Photoshop, can often be just as important as in-water competency.
Ready to put your freediving skills to the test? If you’re not already a PADI Freediver, now’s the time. If you’re already a certified freediver, why not take one of PADI’s photography speciality courses? Find the nearest one to you here.
