With underwater cameras getting cheaper and more accessible, many divers (including myself) have taken a giant stride into the world of underwater video. I’ve been a diver for more than ten years, but it wasn’t until the advent of small, easy-to-use camera systems like the GoPro that I even considered diving with a camera.
Since getting my first GoPro in December 2011, it has been my constant companion on every dive trip. My first video was watchable, but barely. Now that I’ve completed half a dozen videos I wanted to share some of the things I’ve learned.

Tip #1 Get the right accessories
- Don’t use the generic GoPro accessories like the head or chest strap. Strap a camera to your head and you’re bound to get jerky footage with poor composition.
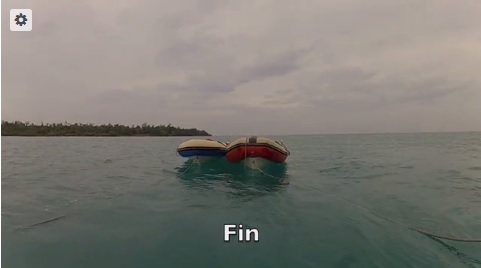
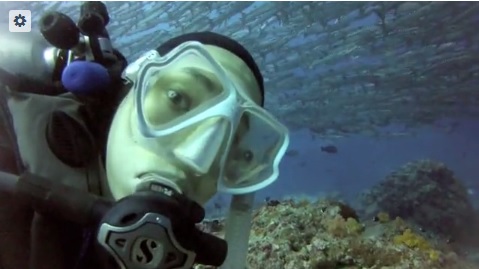
- A red filter or a dive light made for photos/video is a must. Call your dive center and get one of these items before you put one toe in the water. If you get a red filter, don’t forget to take it off when shooting topside (see photo below).
- A “tray” with a handle will also serve you well. The goal is to get as steady of a shot as possible. Being able to hold a large object with two hands (versus a teeny camera with one hand) will improve the steadiness of your shot and make your video look more professional. Not to mention, a tray with a handle makes for a more secure hand-off to the Divemaster. An extending pole is another useful item as it allows you to get closer to marine life such as eels slowly and from a respectful distance.
 The rosy fingers of dawn? Nope, just my red filter.

Tip #2 Tell a Story
- Do you have any goals for the trip? Tell us upfront either as a video testimonial or using subtitles. That final scene with a whale shark, or 1,000th dive celebration will make your video more meaningful.
- Collect shots of the boat, your hotel, interesting topside life or interesting buildings. Use these to create an intro montage to establish a sense of place.
Tip #3 Dive and Shoot Within Your Limits
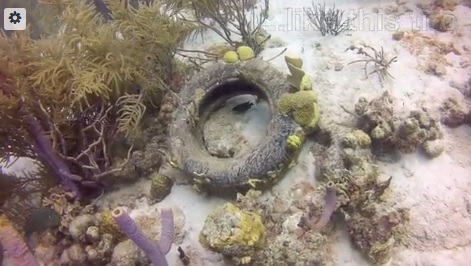
When you’re just starting out: choose stationary or slow-moving subjects. Film tires, coral heads, wrecks, a turtle scratching its butt, etc.
Good buoyancy skills are essential. If your buoyancy is poor, your video viewers will know – your footage will be uneven. You also won’t be able to film interesting creatures that require a slow and steady approach. If you feel the least bit in doubt about your skills, enroll in a Buoyancy class (you won’t regret it).
Tip #4 Include Other Divers – Most Importantly Yourself!
- Other divers can both make and mess up your videos. If diving in a herd, try to get in front. Divers swimming toward you are more interesting than those swimming away. Bonus: you’re more likely to get the cool critter shot before someone else scares it away.
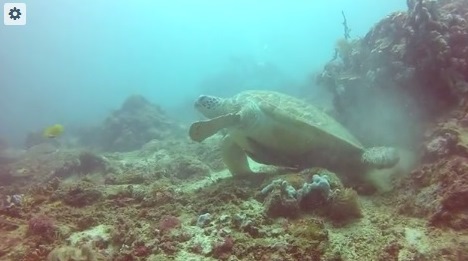
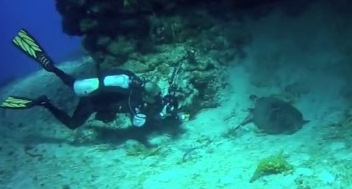
- If you encounter a large critter or sponge of remarkable size, try to film your dive buddy next to it. On my last trip to Cozumel I saw the most massive turtle I’d ever seen in the Caribbean. How big? See above…
- Lastly, keep in mind the main audience for your video will be friends and family; and to them, you are a star. They want to see footage of you. Have your buddy capture you swimming near some cool marine life, or if you’re diving from a dinghy, go for the back-roll selfie!
Tip #5 Post-production
- I use iMovie to assemble my clips into a final video, but GoPro has free, user-friendly editing software for their cameras. Both programs allow you to add your own music, and GoPro has templates which take care of everything from titles on down.
- If you’re interested in some royalty-free music, both Vimeo and YouTube have music libraries of free music. Vimeo has some inexpensive pay options for individuals. If your video takes place in another country, ask your dive crew or taxi driver about popular local bands and spice up your video with local sounds.
- Less is more! Trim each clip to about five seconds – unless your shot is really, really amazing (like a whale shark or a seahorse giving birth). Aim for a total video length of no more than three minutes. Two minutes is ideal.
- If you’ve got a long clip where something interesting happens in the beginning and the end, the best thing to do is to break them up into two clips. If this isn’t possible, break up a lackluster middle section by throwing in some interesting facts or trivia about where you’re diving. This can be done in iMovie or in youtube.
If you’ve found any of the tips above helpful, I strongly encourage you to enroll in a PADI Underwater Videography specialty course. There is a lot about videography I haven’t covered such as taking care of your O-rings, preventing your camera from fogging, the proper angle for shooting and other important tidbits.
The course can be completed in one or two days and you’ll see a significant improvement in the quality of your videos – not to mention the local PADI Pro knows where to find the best critters. You can also do a single underwater videography experience as part of the Advanced Open Water course, or as a single “adventure dive.”
The PADI Digital Underwater Photography online course also includes a module on shooting underwater video. Learn the basics of underwater composition (there’s siginificant overlap between photography and video) and finish at any PADI Dive Center worldwide.