Embarking on the PADI Rescue Diver course is a journey that transforms an ordinary scuba diver into a diver who sees through their bubbles to care for their buddies. Thinking about taking the next step as a diver and enrolling in this fun and functional course? This comprehensive guide explores the four parts of the Rescue Diver course, starting with the ease and convenience of PADI eLearning, then discussing the skills you’ll learn and demonstrate during the in-water portion, including the 10 Rescue Diver Exercises.
During the Rescue Diver course, you’ll uncover a world where skills, adrenaline, and responsibility converge. Once you become a certified Rescue Diver, you’ll be equipped with the knowledge and confidence to handle underwater emergencies with expertise.
Let’s dive into the Rescue Diver course.
Part 1: PADI eLearning
Like all other PADI courses, the Rescue Diver course begins with a knowledge development section. This can be completed using PADI eLearning from the comfort of your home or hotel room, on your computer, phone or tablet. Alternatively, your dive center of choice might provide the option to complete the knowledge development using the PADI Rescue Diver Manual.
Either way, you’ll be provided with a written introduction to the course, five sections to read along with a Knowledge Review quiz after each one, followed by the Rescue Diver Final Exam. Each of the five sections is accompanied by tutorial videos. The eLearning and the manual also include an Accident Management Workslate.
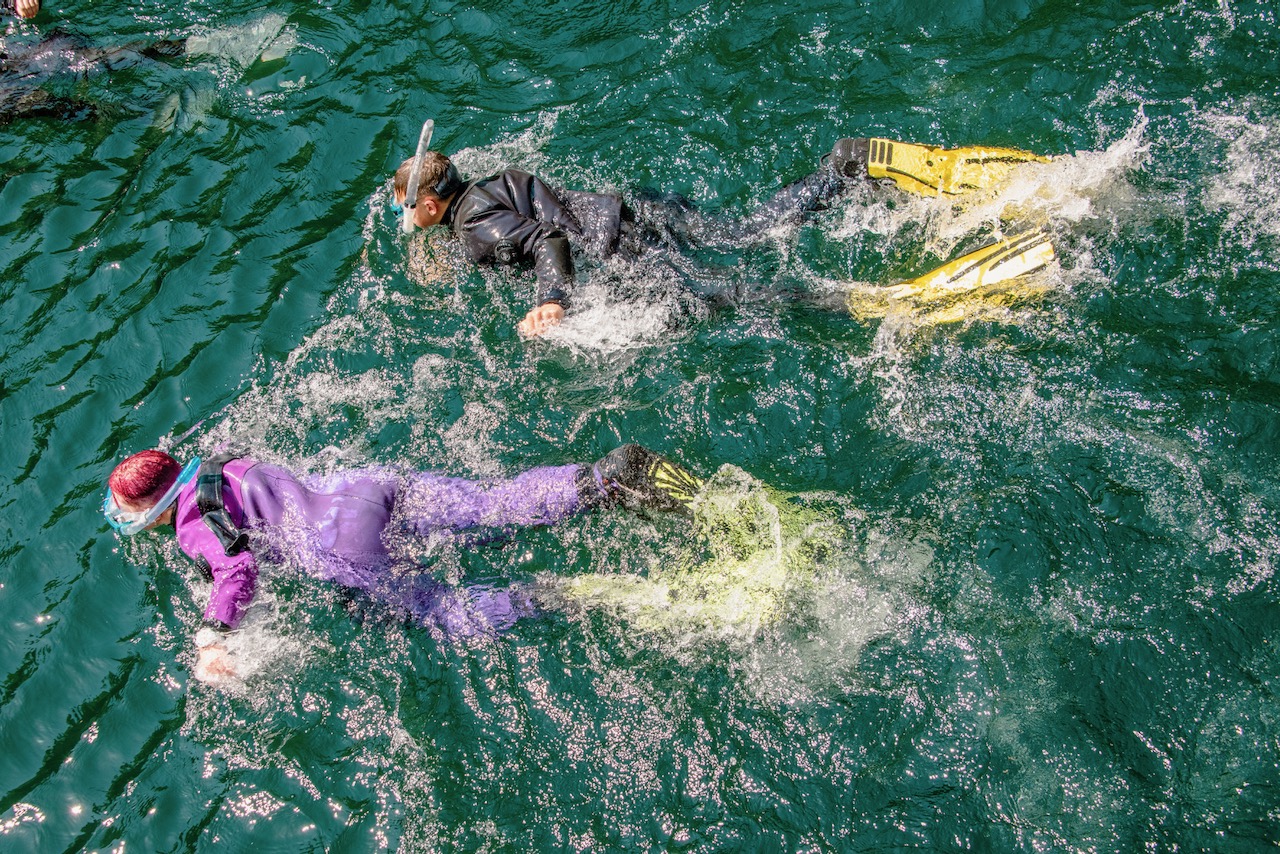
Part 2: Self-Rescue Review
The in-water portion of the PADI Rescue Diver course begins with a review of the self-rescue skills you learned in the PADI Open Water Diver course.
In particular, your PADI Instructor will demonstrate, and you’ll need to practice the following skills in water too deep in which to stand:
- Cramp Release – Pull on your fin tip to stretch a cramped muscle.
- Establishing Buoyancy at the Surface – Demonstrate positive buoyancy at the surface by inflating your BCD using both low pressure inflation and oral inflation.
- Airway Control – Practice snorkel to regulator exchange and breathing past small amounts of water.
- Use of an Alternate Air Source – Locate, secure and breathe from an alternate air source supplied by a buddy, in a stationary position, then swim together. You’ll need to practice as both donor and receiver, and the exercise will finish as you ascend together.
- Overcoming Vertigo – Simulate vertigo and then grab a descent line to reestablish your sense of direction.
Part 3: Rescue Diver Exercises
Once you’ve mastered your self-rescue skills, you’ll move on to the 10 Rescue Exercises. You and your PADI Instructor may practice these in confined water before moving into open water to demonstrate your abilities.
Exercise 1 — Tired Diver
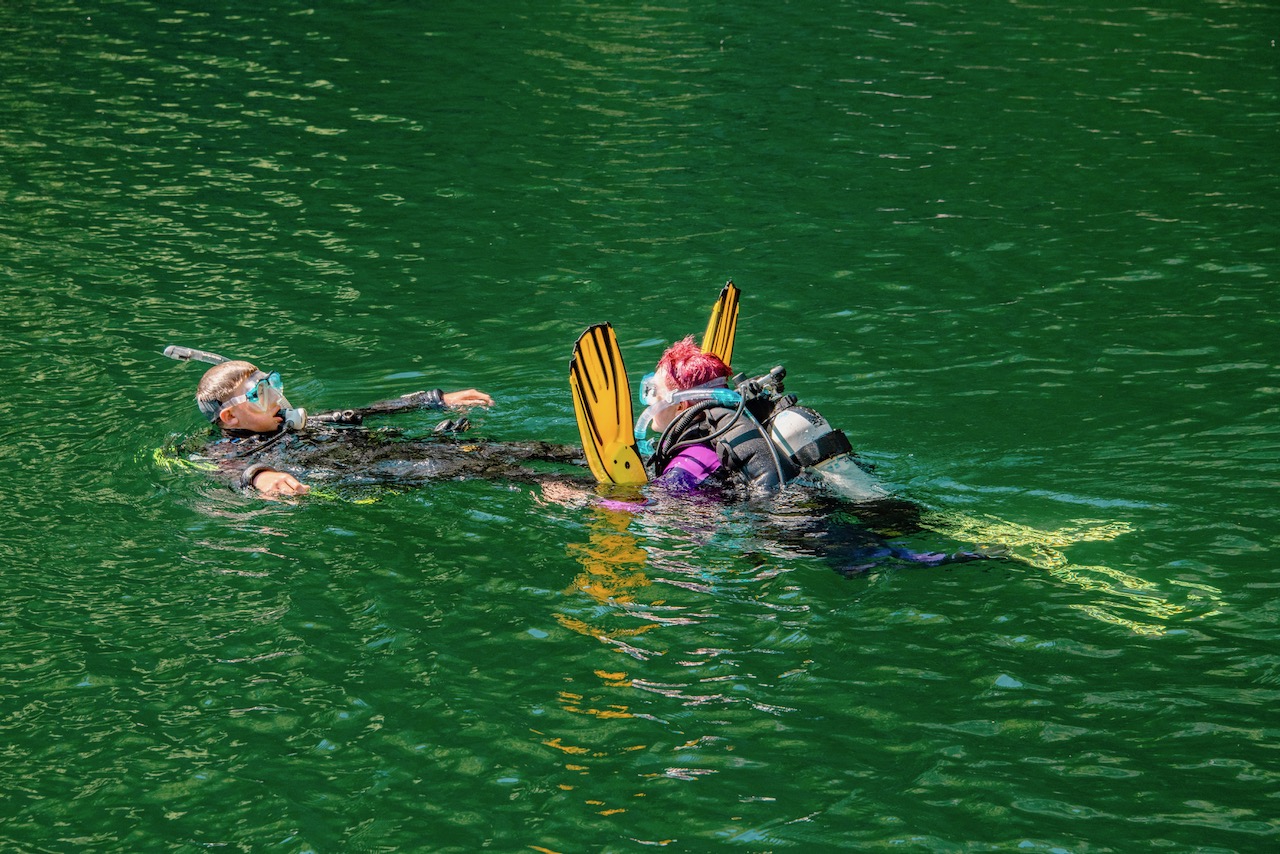
This exercise teaches you how to effectively tow a tired or distressed (but still rational) diver to safety. This skill is crucial for situations where a fellow diver cannot swim to the exit point due to exhaustion or minor injury. You’ll learn different towing techniques and how to conserve your energy while assisting others.
During the exercise, focus first on assessing the diver and the problem, then on acting to assist. You instructor will teach you how to:
- Approach – Get close to a tired diver while continuously watching the diver.
- Evaluate – Take measure of the situation by stopping near but out of reach of the tired diver. Give clear and concise instructions to the tired diver.
- Make Contact – Get the diver’s attention from the front while explaining your actions and establishing positive buoyancy for yourself and the tired diver.
- Reassure – Maintain eye contact with the diver and talk directly to them.
- Transport – Tow the diver using the underarm push, modified tired-swimmer carry, and tank-valve tow.
- Remove Equipment – Identify what equipment to remove from the tired diver (usually just their weights) and how to remove it.
Exercise 2 — Panicked Diver
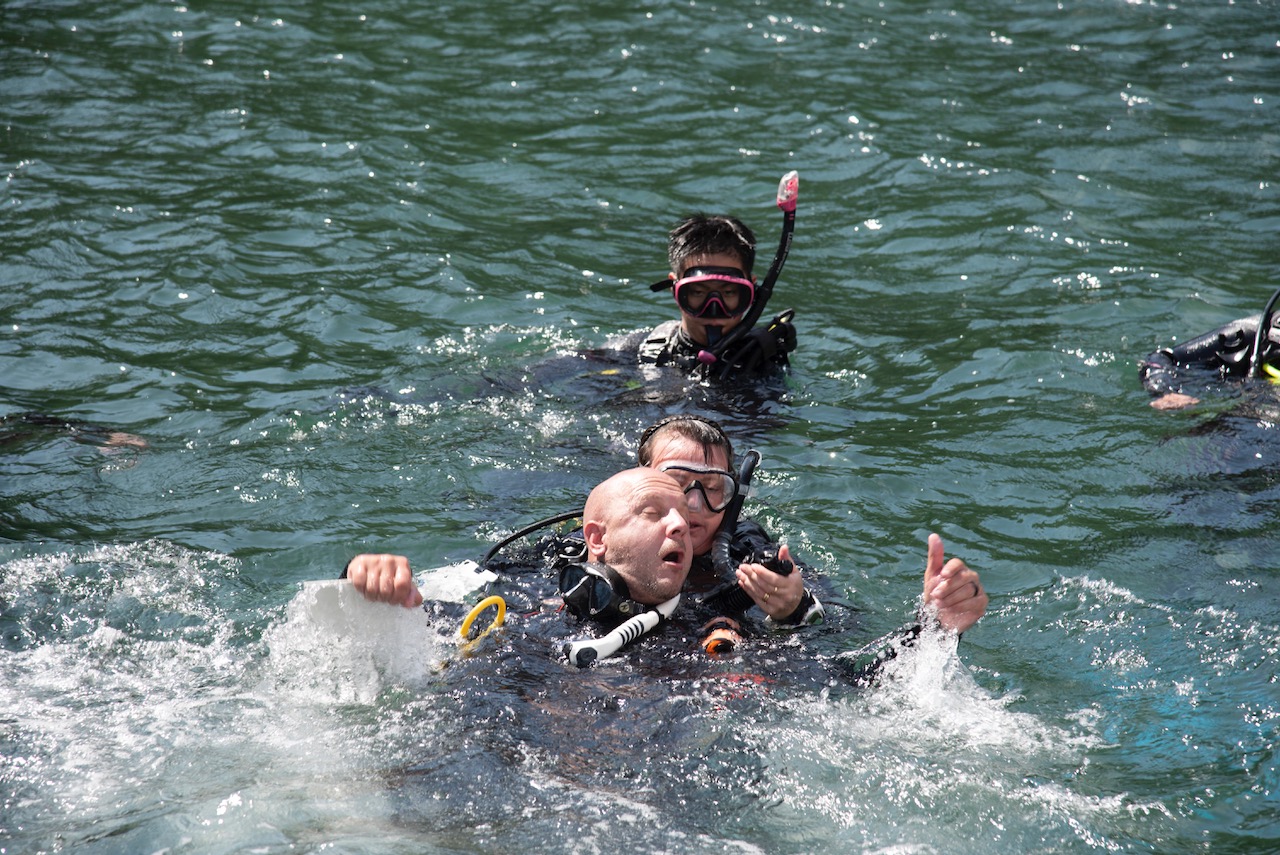
Handling a panicked diver can be a risky situation for the rescuer. A diver panicking on the surface is unpredictable and can push you underwater without meaning to.
This exercise equips you with techniques to approach and calm a diver in panic on the surface, ensuring both your safety and that of the panicked diver.
Your instructor will demonstrate and instruct you to practice the following skills during Exercise 2:
- Approach – Evaluate the situation and the panicked diver in the same manner as you did in Exercise 1. Attempt to talk to the diver and determine how to make contact.
- Make Contact (Surface Approach) – This is the fastest way to get to a panicked diver. You’ll swim behind the diver and quickly grasp the tank valve before assuming the knee-cradle position. Alternatively, you can approach from the front, grabbing the diver’s opposite wrist to quickly pull and turn the diver away from you. Finally, inflate the diver’s BCD and drop his or her weights.
- Make Contact (Underwater Approach) – While slower, the underwater approach is a better option if the panicked diver is larger and stronger than the rescuer. You’ll approach from underwater at knee or ankle depth. Then, you’ll turn behind the diver and ascend, grabbing the tank valve. Once you surface, assume the knee-cradle position and inflate the diver’s BCD then drop his or her weights.
- Release – You’ll also practice getting away from a panicked diver to protect yourself. The first option is to descend. The second option is to inflate both your BCD and the panicked diver’s BCD in order to push the panicked diver up and away.
- Quick Reverse – Finally, you’ll prepare to back away quickly from a panicked diver with a quick reverse action. Lean backward with your legs towards the diver then kick away quickly.
Exercise 3 — Assisting a Responsive Diver From Shore, Boat or Dock
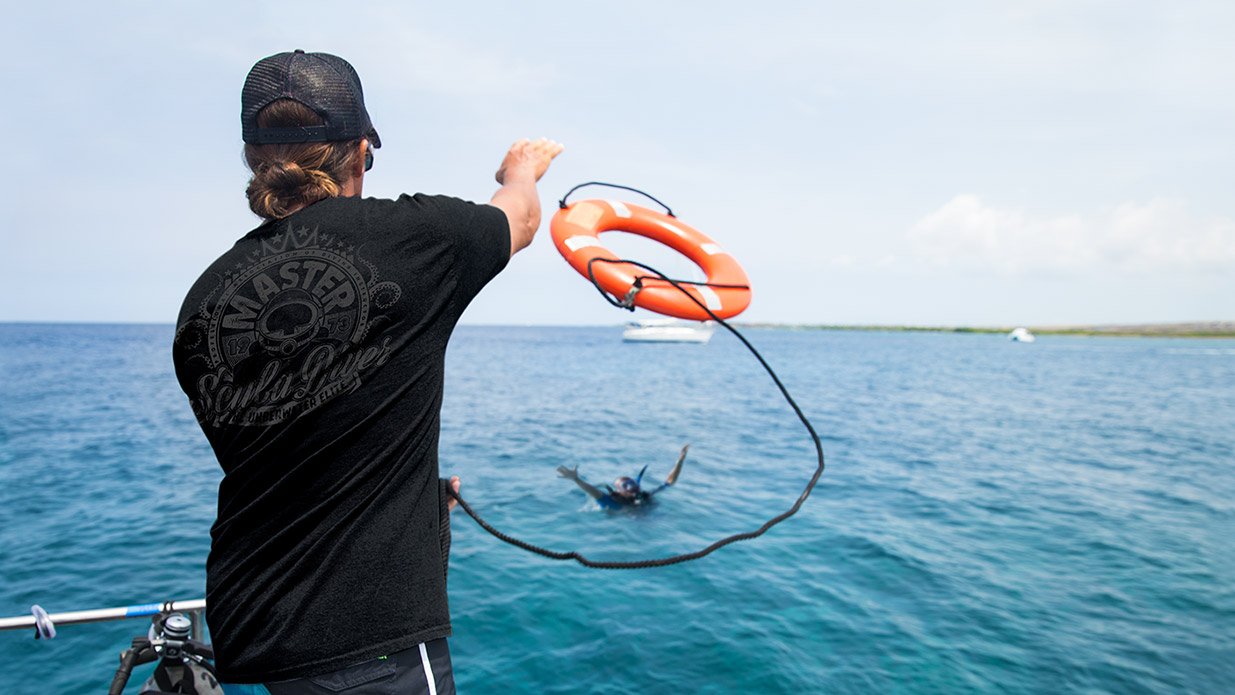
Emergencies can occur at any time, even after you’ve exited the water. This scenario trains you to recognize and respond to a problem from a distance, be it from the shore, a boat, or a dock, using both nonswimming and swimming assists.
With your instructor, you’ll learn and demonstrate:
- Nonswimming Assists – Using a reach or extension and a throw, you’ll practice retrieving a distressed diver from the shore, boat or dock.
- Water Entries – Should the distressed diver be out of reach, you’ll need to enter the water, keeping your eyes on the victim and conserving your energy. First, you’ll don the equipment you need (usually a mask, snorkel, fins and some form of floatation device), then you’ll enter the water as close to the distressed diver as possible.
- Tows – Once again, you’ll practice the three types of tows explored in Exercise 1, with and without equipment removed.
- Assisting Two Responsive Divers at Once – Rarely, you may encounter two responsive divers on the surface that need help. You’ll go over how to use your judgment about who to help first.
- Exits With a Responsive Diver – Have the distressed diver rest and save their energy, then try to exit. If that doesn’t work, you’ll need to follow the procedure for exiting the water with an unresponsive diver (see Exercise 8).
Exercise 4 — Distressed Diver Underwater
This exercise focuses on identifying and assisting a diver showing signs of stress or panic underwater. You’ll learn to approach them cautiously and assist them to the surface safely. During the exercise, you’ll need to deal with overexertion and out-of-air situations. You’ll need to recognize these problems quickly and respond appropriately.
By the end of the exercise, you’ll need to demonstrate that you can:
- Correctly identify and respond to a diver simulating overexertion
- Achieve an active panic ascent underwater
- Provide an alternate air source to a diver simulating an out-of-air emergency
- Make a controlled, air-sharing ascent with another diver.
Exercise 5 — Missing Diver
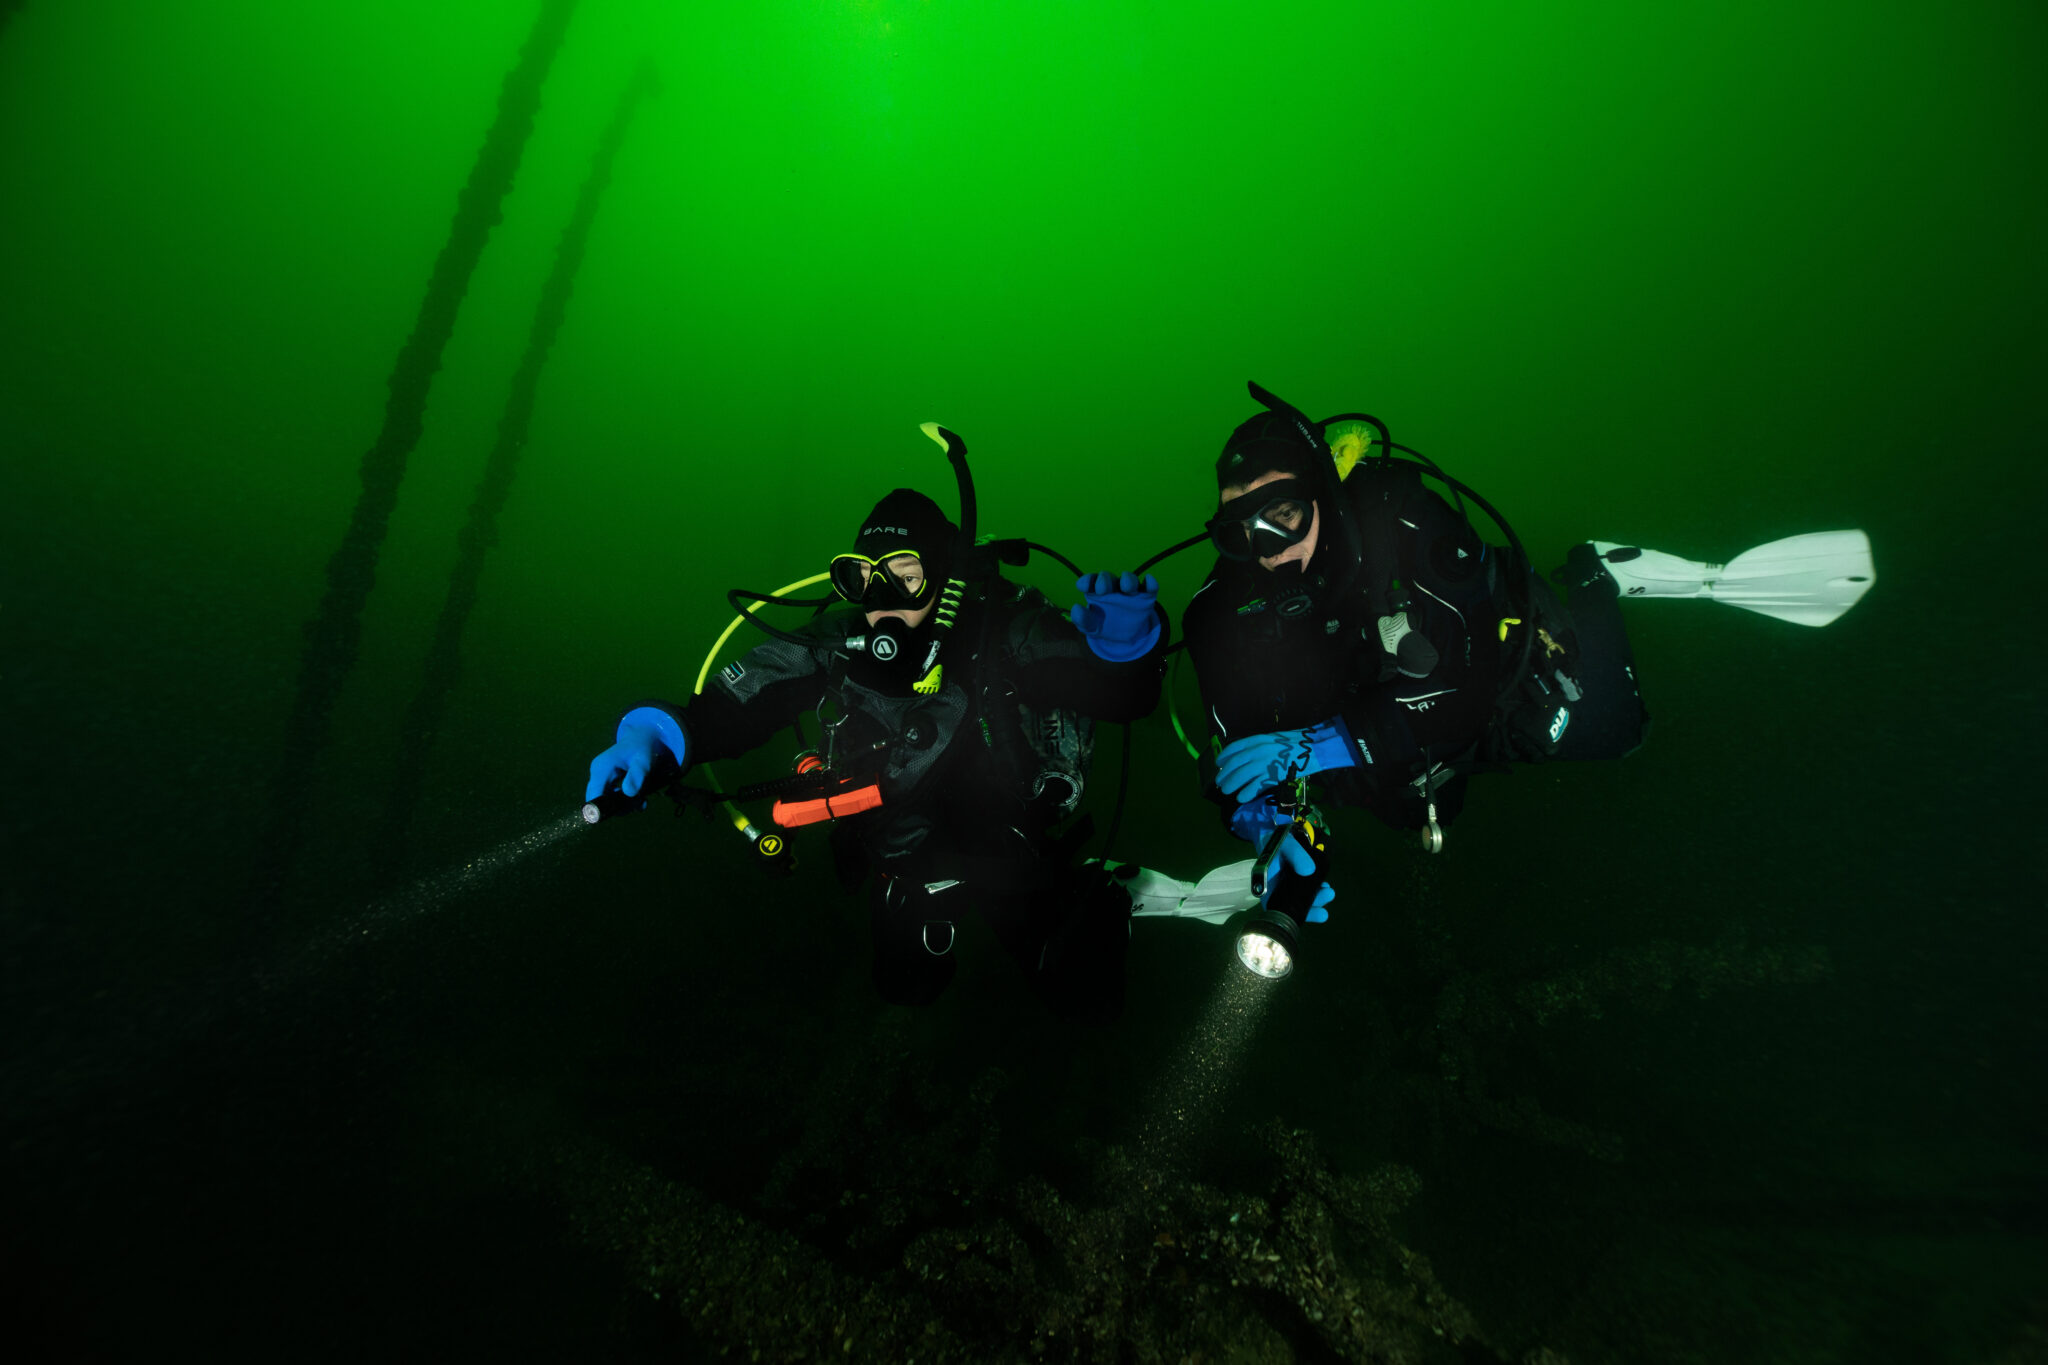
In the unfortunate event of a diver going missing, this exercise teaches you how to use effective search patterns and teamwork to respond to an emergency. During this exercise, you’ll need to quickly and efficiently search for and locate a missing diver using an underwater search pattern.
Your instructor will begin by reviewing basic compass navigation as well as an orientation to search techniques. You’ll then review missing diver procedures and walk through search patterns on land first. In the water, you’ll put what you’ve learned to use by searching for a missing object or diver.
Exercise 6 — Surfacing an Unresponsive Diver
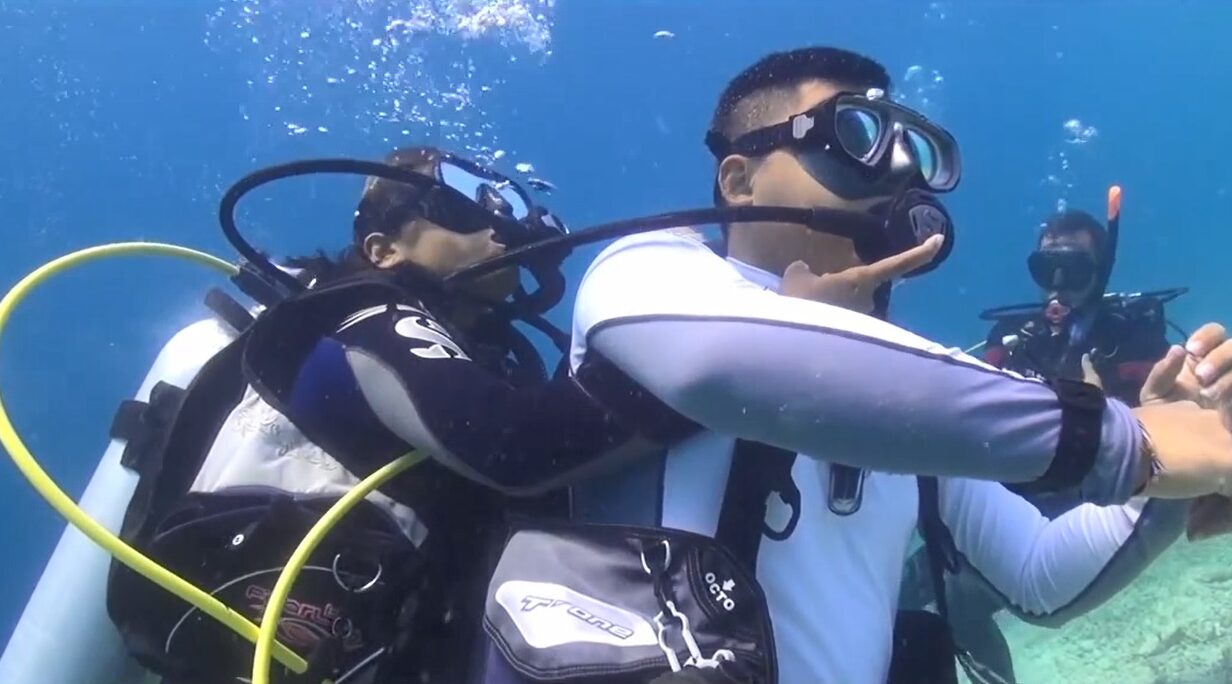
This critical exercise involves bringing an unresponsive diver to the surface. You’ll learn how to protect their airway and ensure their safety while performing a controlled ascent and what to do once on the surface. The exercise will be performed in water too deep in which to stand.
Before and during this exercise, your instructor will demonstrate:
- The use of controlled positive buoyancy as an aid to ascent.
- How to bring an unresponsive diver to the surface by manipulating the air in your BCD and the BCD of the unresponsive diver.
Exercise 7 — Unresponsive Diver at the Surface
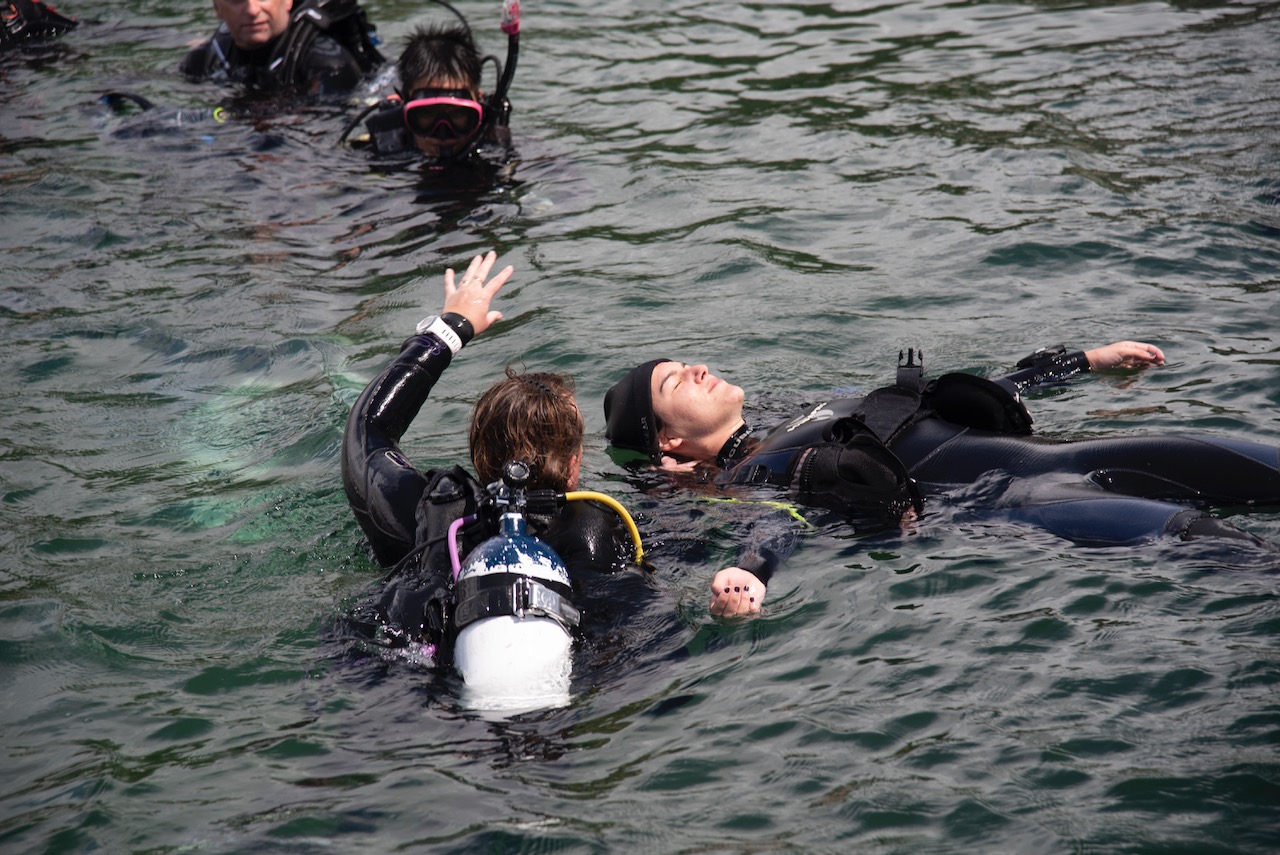
The most anticipated exercise in the entire course, Rescue Exercise 7 is challenging but essential. It teaches you what to do upon surfacing with an unresponsive diver. Immediate action is, of course, needed. So, you’ll learn how to provide rescue breaths in water (including both mouth-to-mouth techniques and the use of a pocket mask), how to remove both your equipment and the unresponsive diver’s equipment, and how to simultaneously tow the unresponsive diver toward an exit.
Here’s what the exercise will look like. Keep in mind, the exercise will be performed in water too deep in which to stand. Your instructor will walk you through these steps and then ask you to demonstrate them:
- Once you’ve surfaced the unresponsive diver, the first step is to turn the diver face up (you can grasp their opposite hands and turn them over by pulling) and establish positive buoyancy for both yourself and your unresponsive diver by removing both sets of weights and inflating your BCD and the unresponsive diver’s BCD.
- Next, you’ll need to call for help using a phrase like, “Help! I have a diver emergency! Call 911!”
- Then, while holding the diver’s head and neck, remove the diver’s mask and regulator, remove your mask, open their airway and check for breathing.
- If no breathing is detected, you’ll need to deliver two rescue breaths (during the exercise, you’ll practice both mouth-to-rescue breathing mask and mouth-to-mouth rescue breaths), followed by one rescue breath every five seconds as you tow the diver to the exit point.
- At the same time, you’ll work on removing the equipment of the unresponsive diver and your equipment between rescue breaths to prepare for exiting the unresponsive diver from the water.
Exercise 8 — Exiting an Unresponsive Diver
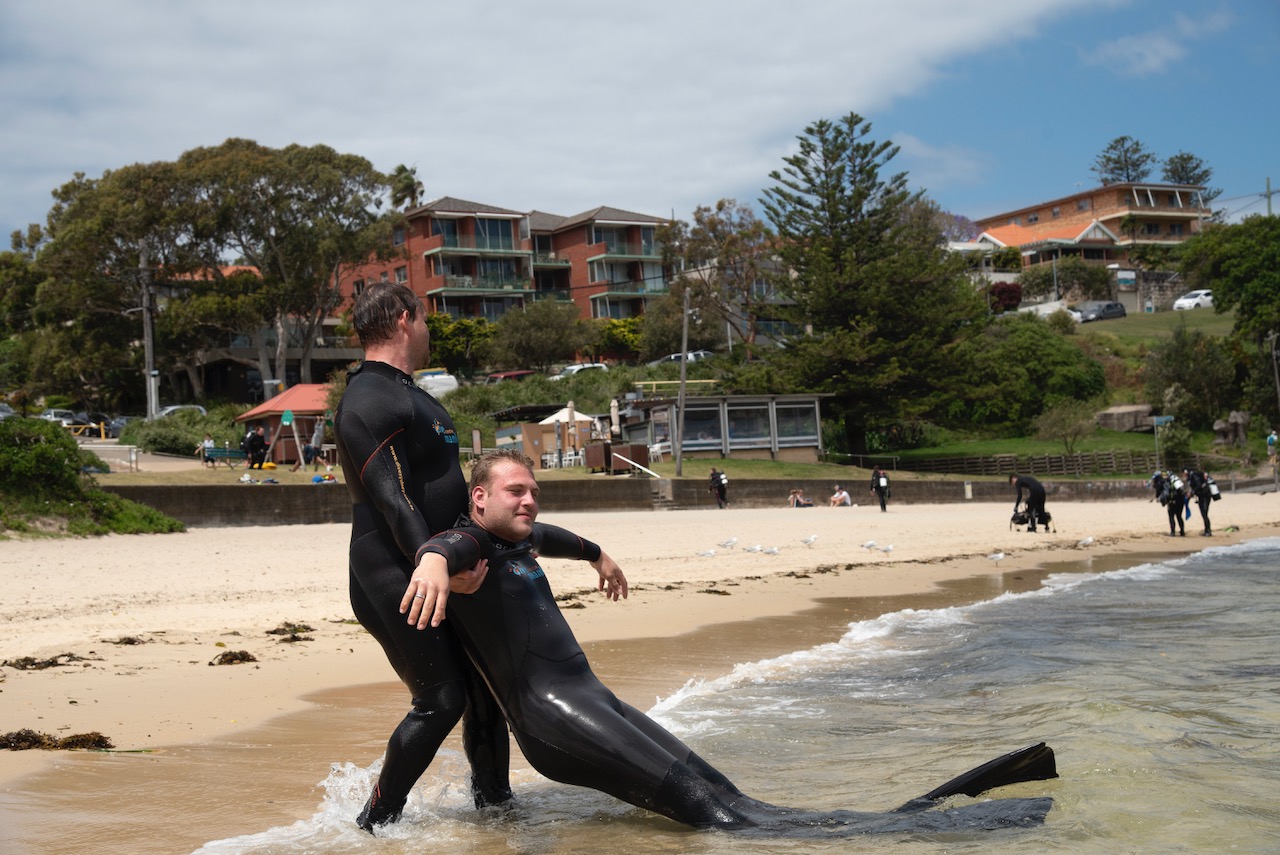
To get an unresponsive diver the help they require, you’ll need to get them out of the water. This Rescue Diver Exercise teaches you various techniques for exiting an unresponsive diver, whether from the shore or a boat, while protecting both the diver and yourself.
Your instructor will likely have you practice exits for both boat diving and shore diving. Many divers of a smaller stature believe they will struggle with the latter, but your instructor will show you the best technique to get an unresponsive diver out of the water based on your build and the size of the injured diver.
Some of the techniques you might review include:
- Saddleback Carry
- Fireman’s Carry
- Ladder Exit
- Lifeguard Exit
- Packstrap Carry
- Roll-Up Technique
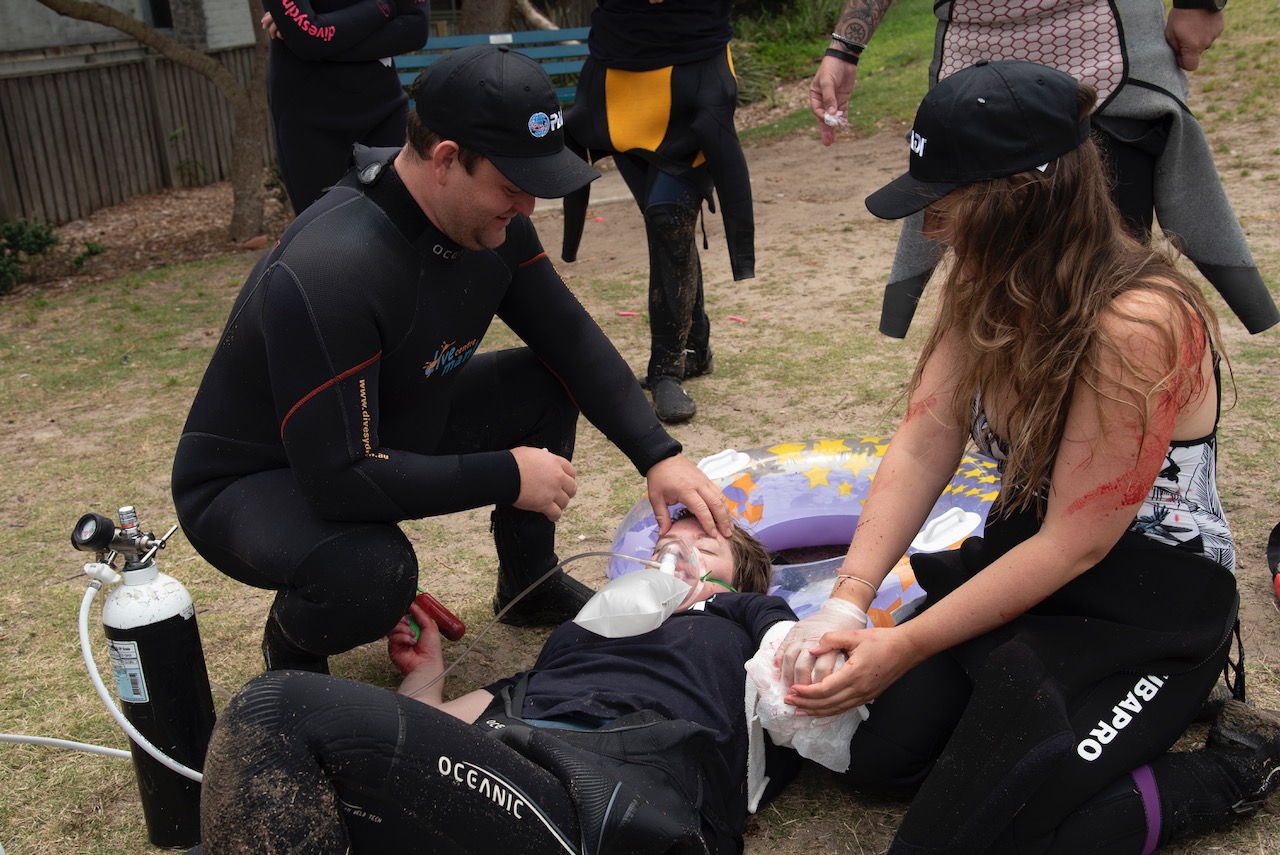
Exercise 9 — First Aid for Pressure-Related Injuries and Oxygen Administration
Diving-related injuries, such as decompression illness (DCI), are serious. You’ll learn first aid measures for such injuries and the correct way to administer oxygen, which is vital in DCI scenarios.
During this exercise, you’ll learn and demonstrate how to:
- Administer oxygen to a breathing unresponsive diver with suspected DCI.
- Deliver mouth-to-rescue breathing mask or mouth-to-mouth rescue breaths while administering oxygen to a non-breathing unresponsive diver.
Exercise 10 — Response from Shore or Boat, Unresponsive Diver
The last Rescue Diver Exercise combines many of the skills you’ve already learned. You’ll respond to a diver emergency that requires attending to a non-breathing, unresponsive diver, demonstrating in-water rescue breathing, exiting the water and then providing CPR or other first aid.
This comprehensive exercise hones your ability to quickly assess, act, and manage dive emergencies effectively.
Part 4: Open Water Rescue Scenarios
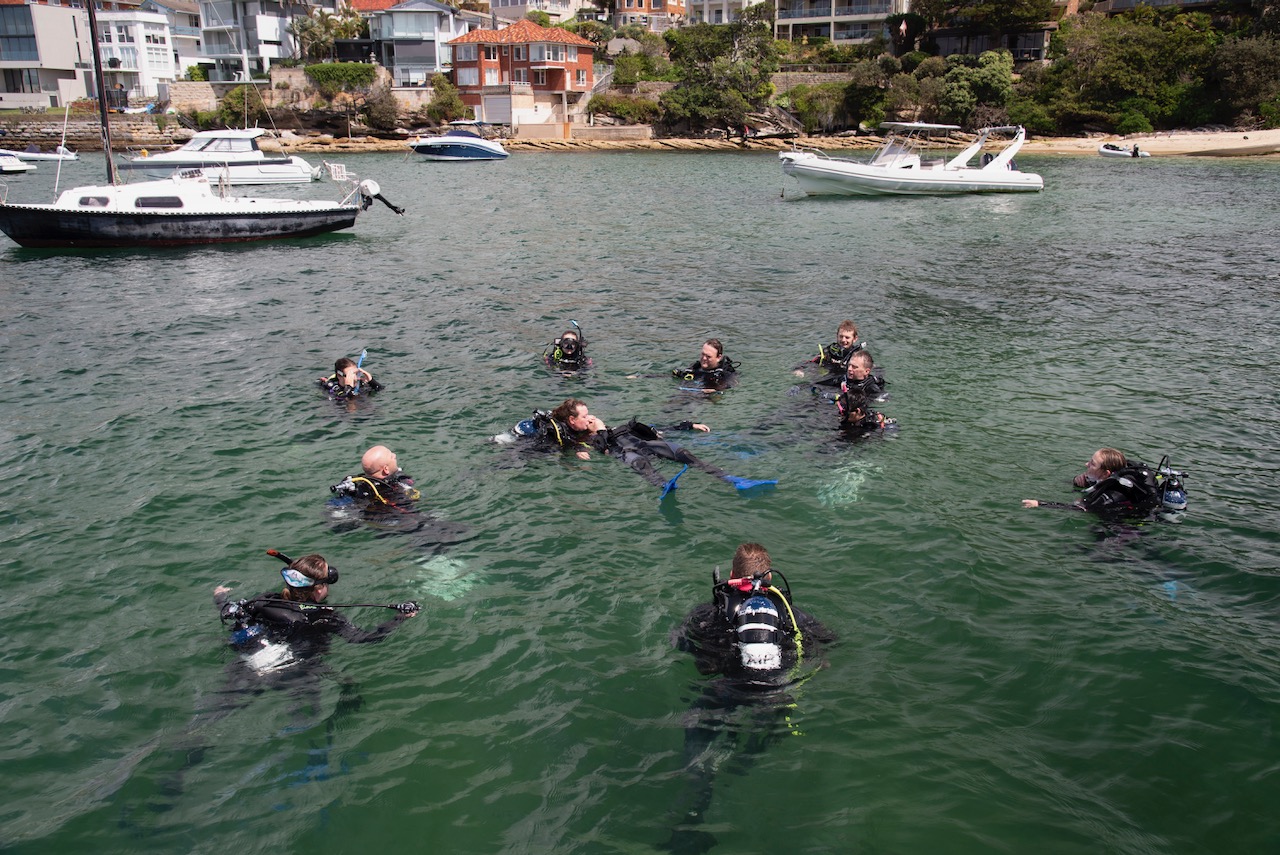
Some people might consider the two Open Water Rescue Scenarios to be the in-water final exam of the Rescue Diver course. During these scenarios, you’ll combine all the knowledge you gained in the 10 Rescue Exercises to rescue both an unresponsive diver underwater and an unresponsive diver on the surface.
We won’t spoil all the surprises here, but during these scenarios, you’ll be expected to gather information, analyze the situation, form a plan with your dive buddies, then execute your rescue. Expect to be challenged but feel accomplished when you successfully rescue your victim.
Remember that the Rescue Diver course is more than just a certification; it’s a commitment to becoming a more skilled, confident, and responsible diver. The knowledge and experiences you’ll gain are invaluable, not just for your own safety but for the well-being of your fellow divers.
So, are you ready to take the plunge and elevate your diving adventures? Sign up for the PADI Rescue Diver course today!

